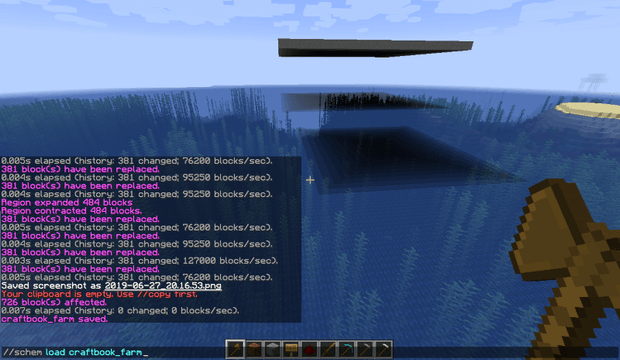
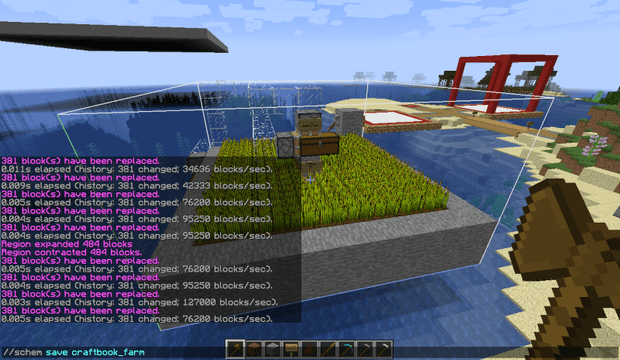
There's been a recent uptick in people wanting a correct tutorial on using schematics in Minecraft with WorldEdit, due to a few incorrect tutorials floating around the internet. WorldEdit is one of the easiest ways to import schematics into Minecraft.
If you're a developer and are looking for the tutorial on the API, see here.
WorldEdit stores schematics in the worldedit/schematics folder. On Bukkit-based servers, this is inside the plugins folder. On Forge and Fabric, this is inside the config folder. If the schematics folder doesn't exist, make a new folder named schematics.
How to use a schematic file?
If you've downloaded a Minecraft schematic file and want to load it into your Minecraft world, do the following:
- Put the schematic file into your worldedit/schematics folder.
- Load it in-game using the
/schem load filenamecommand. - Stand where you want the schematic to appear, and run
//paste. - If you've put it in the wrong place, you can use
//undoand try again.
If you want to see all the available schematics, you can use the /schem list command. This command also comes with a handy load button next to each schematic, which replaces the load command above.
//schem load
How to make a schematic file?
If you've built something in Minecraft and want to save it to a schematic file to share with friends or the internet, do the following:
- Select the area you want to save, using WorldEdit's wand (a wooden axe, by default).
- Use the
//copycommand. - Save it to the file with the
/schem save filenamecommand. - Grab the schematic file that you made from the worldedit/schematics folder
//schem save
Further Help
If you still need help, ask on the official EngineHub discord guild.
About the Author

Hi, I'm Maddy Miller, a Senior Software Engineer at Clipchamp at Microsoft. In my spare time I love writing articles, and I also develop the Minecraft mods WorldEdit, WorldGuard, and CraftBook. My opinions are my own and do not represent those of my employer in any capacity.
